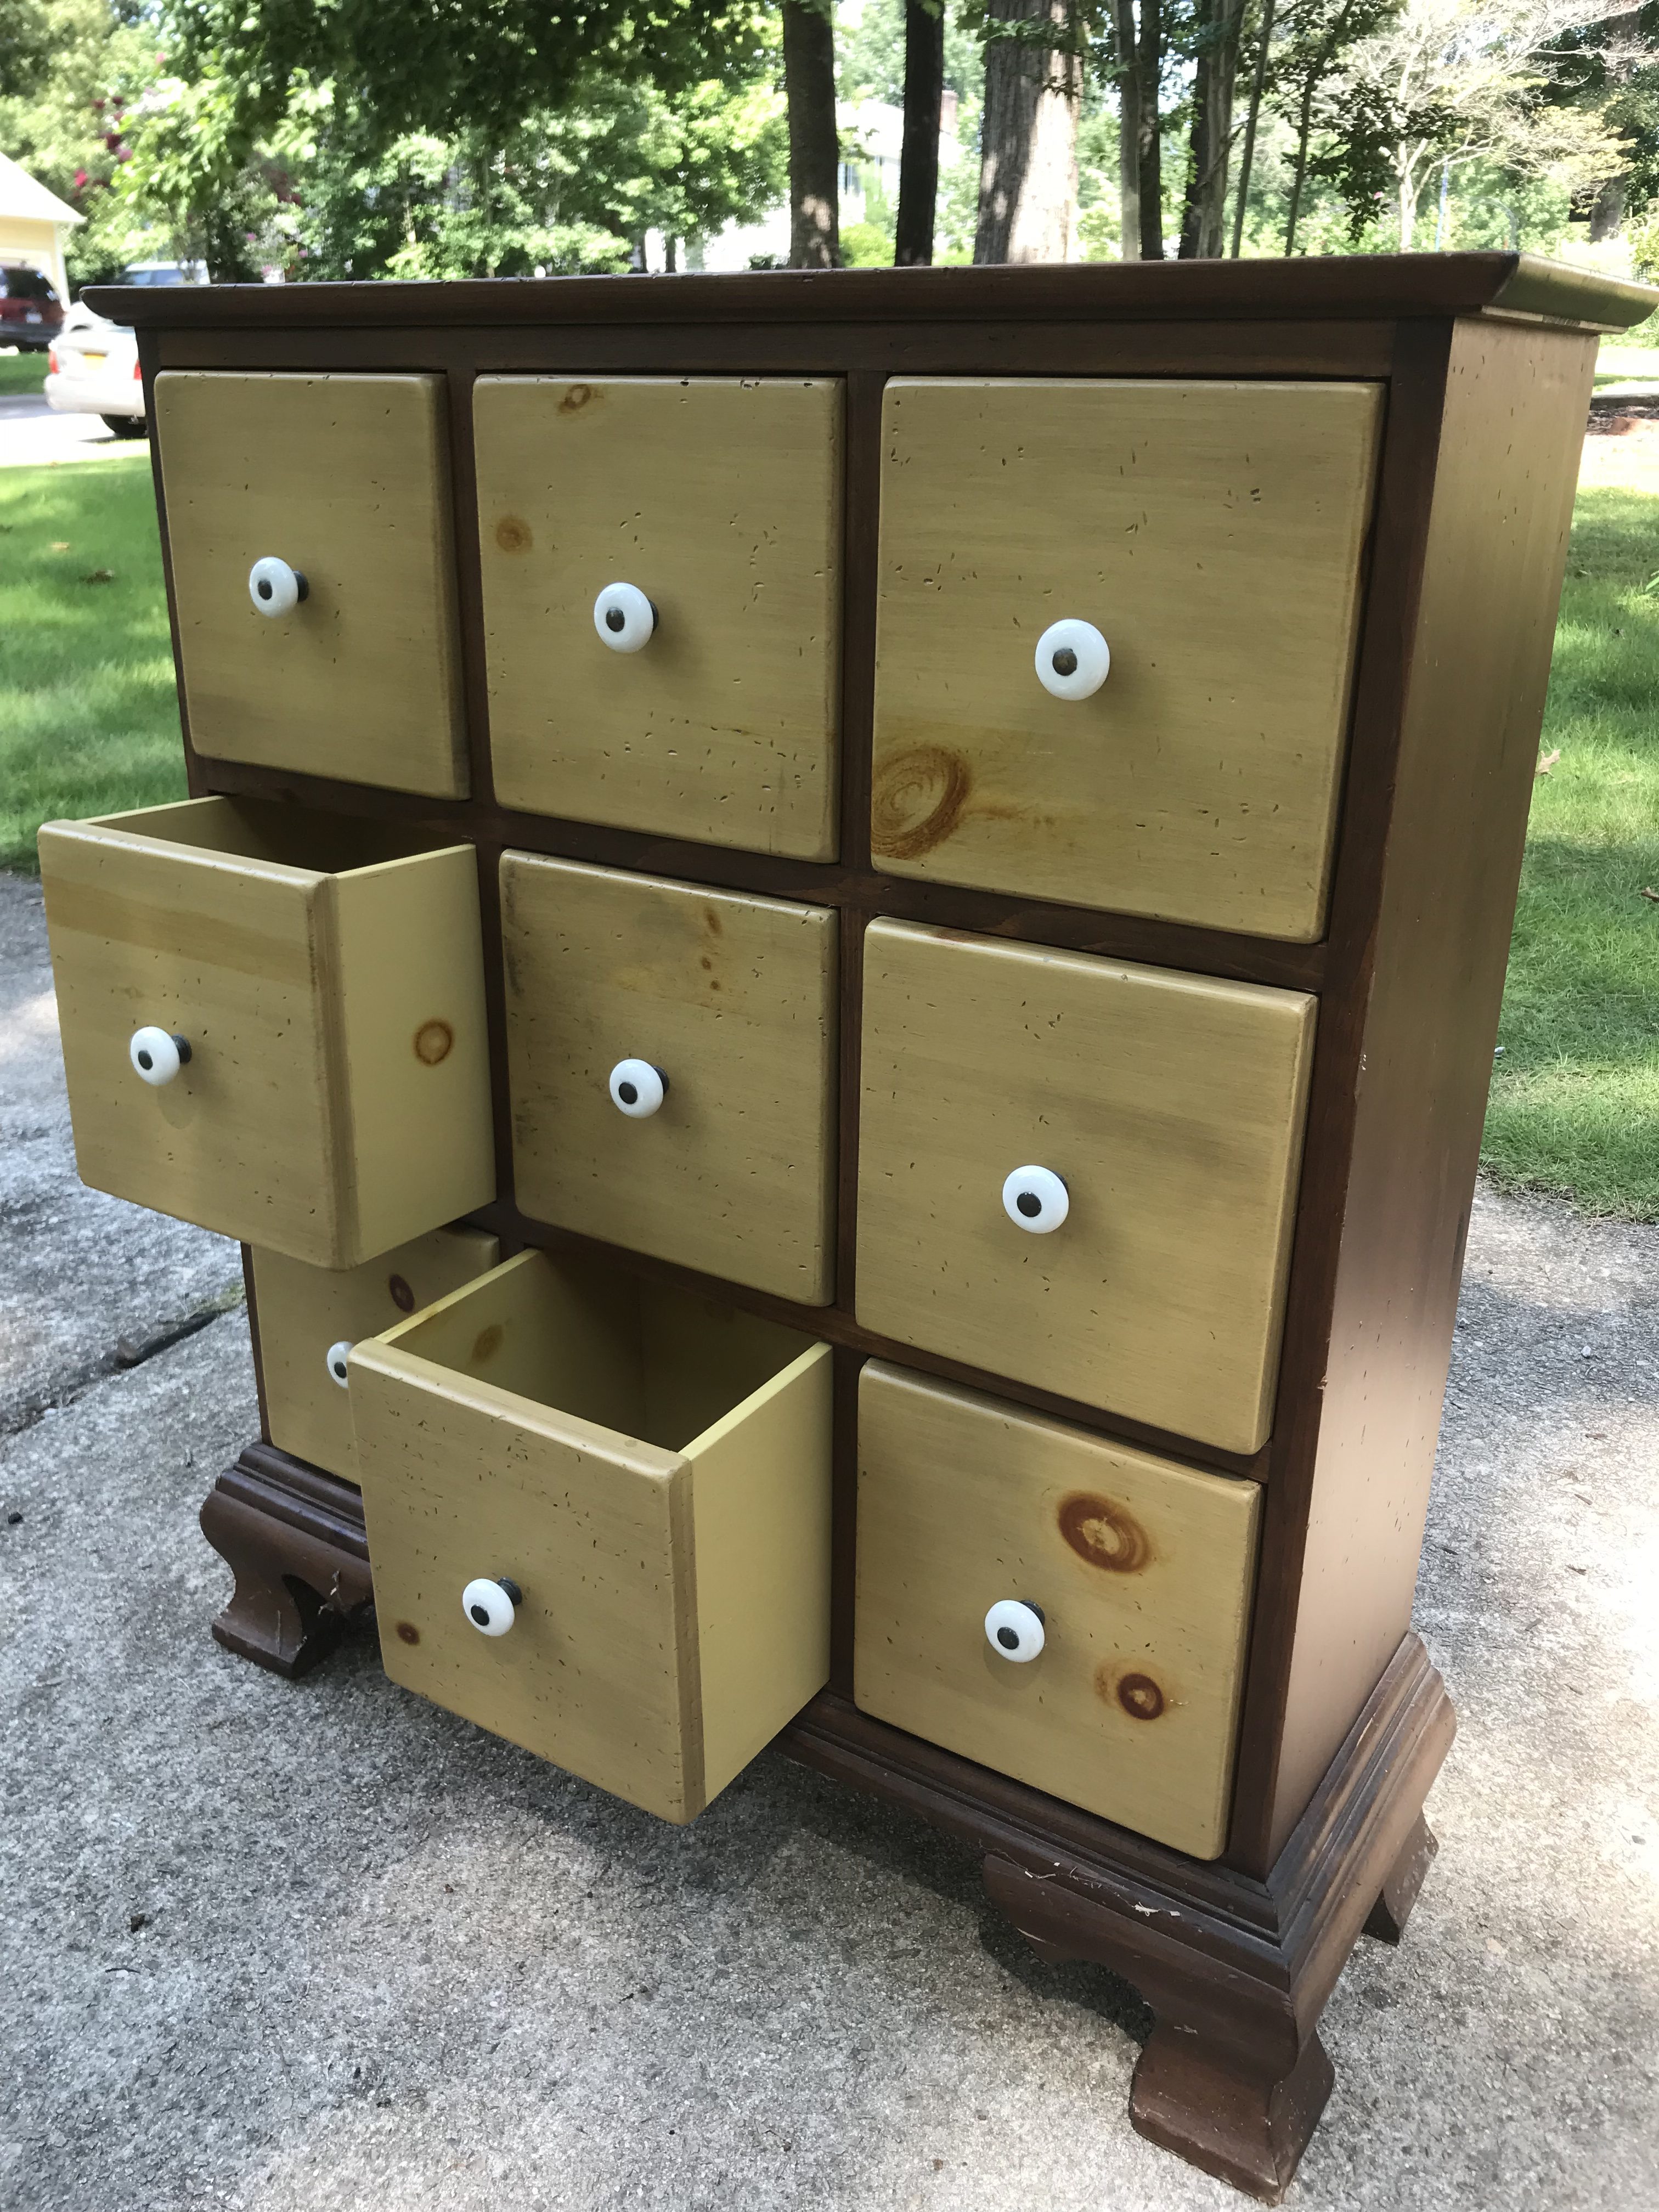
A few weeks back we were in Greenville NC and were driving and saw a billboard sign for an antique shop. With a quick Google search I knew I wanted to go! We found the cutest little dresser (not really sure what else to call it). It had no price and Cam and I decide we were not going to spend more than $50 for it. Lucky for us we got it for $45. I already had a vision for it and could not wait to start it.
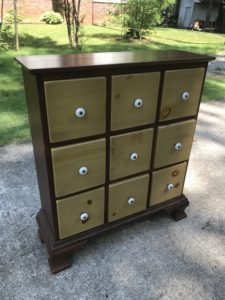

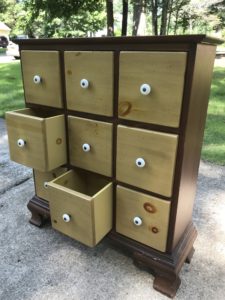
First we lightly sanded, leaving some of the dark undertones on the dresser for when I distress it. For sanding I use a hand sander with 80 grit sand paper to get paint/polyurethane off.
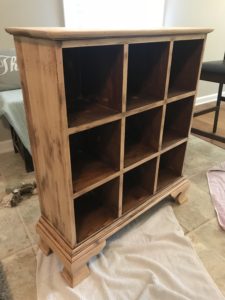
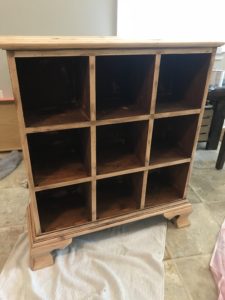

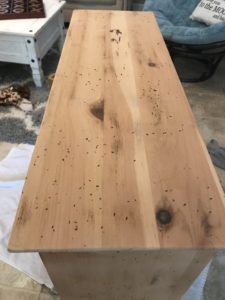
Next up is one of my favorite parts of every project and super professional… Get all the excess wood dust off with a leaf blower. If you haven’t tried it you definitely need to!
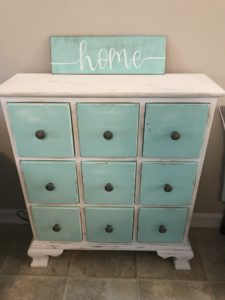
I always try and put a base coat on furniture. It is especially important to get different tones show through when distressing. Definitely worth the extra time put in. For the base of the dresser I used white latex paint from Valspar and applied 2 coats. The drawers also got two coats of white paint and then topped with two coats of “Refresh” Valspar furniture paint.
I then take 120 grit sandpaper and distress down to my liking. Lastly I took a trip to Lowes to pick out the hardware! One of my favorite yet most difficult things to do. Especially for this project since I needed 9 knobs. So I better like them right?! I decide on some rustic and distressed silver knobs. And to make it even better they were on sale! Putting the hardware on is always one of my favorite parts of the project. Its being able to see a complete project come together.
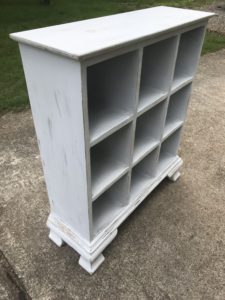
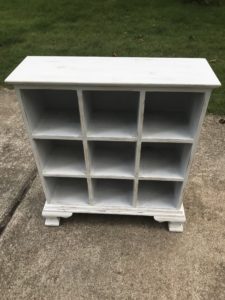
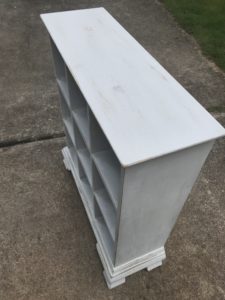
This project has been my favorite so far. I had so much fun picking colors and having a vision in my head and being able to see it come to life. I am so excited to start using this little dresser. It is going in my craft room to hold what is yet to be determined.
